Security
Abstract
The punch integrates Opendistro, the security plugin from amazon for Elasticsearch. It allows you to protect your data and define various role-based access control rules to expose your data to your users the way you need.
Overview
In this guide, you will learn to :
-
Equip your standalone with the security plugins.
-
Secure your standalone with SSL and access control without any plain text credentials in configuration files .
-
Secure your cluster with authentication and access control
Installation
If you have already installed your standalone, stop it first:
punchplatform-standalone.sh --stop
./install.sh --with-security
source ./activate.sh
punchplatform-standalone --start
Info
To use the standalone without SSL connexions, you better have to install it with --with-opendistro-security option
Once ElasticSearch and Kibana are running, open a web browser and go to https://localhost:5601.
You should hit this window :
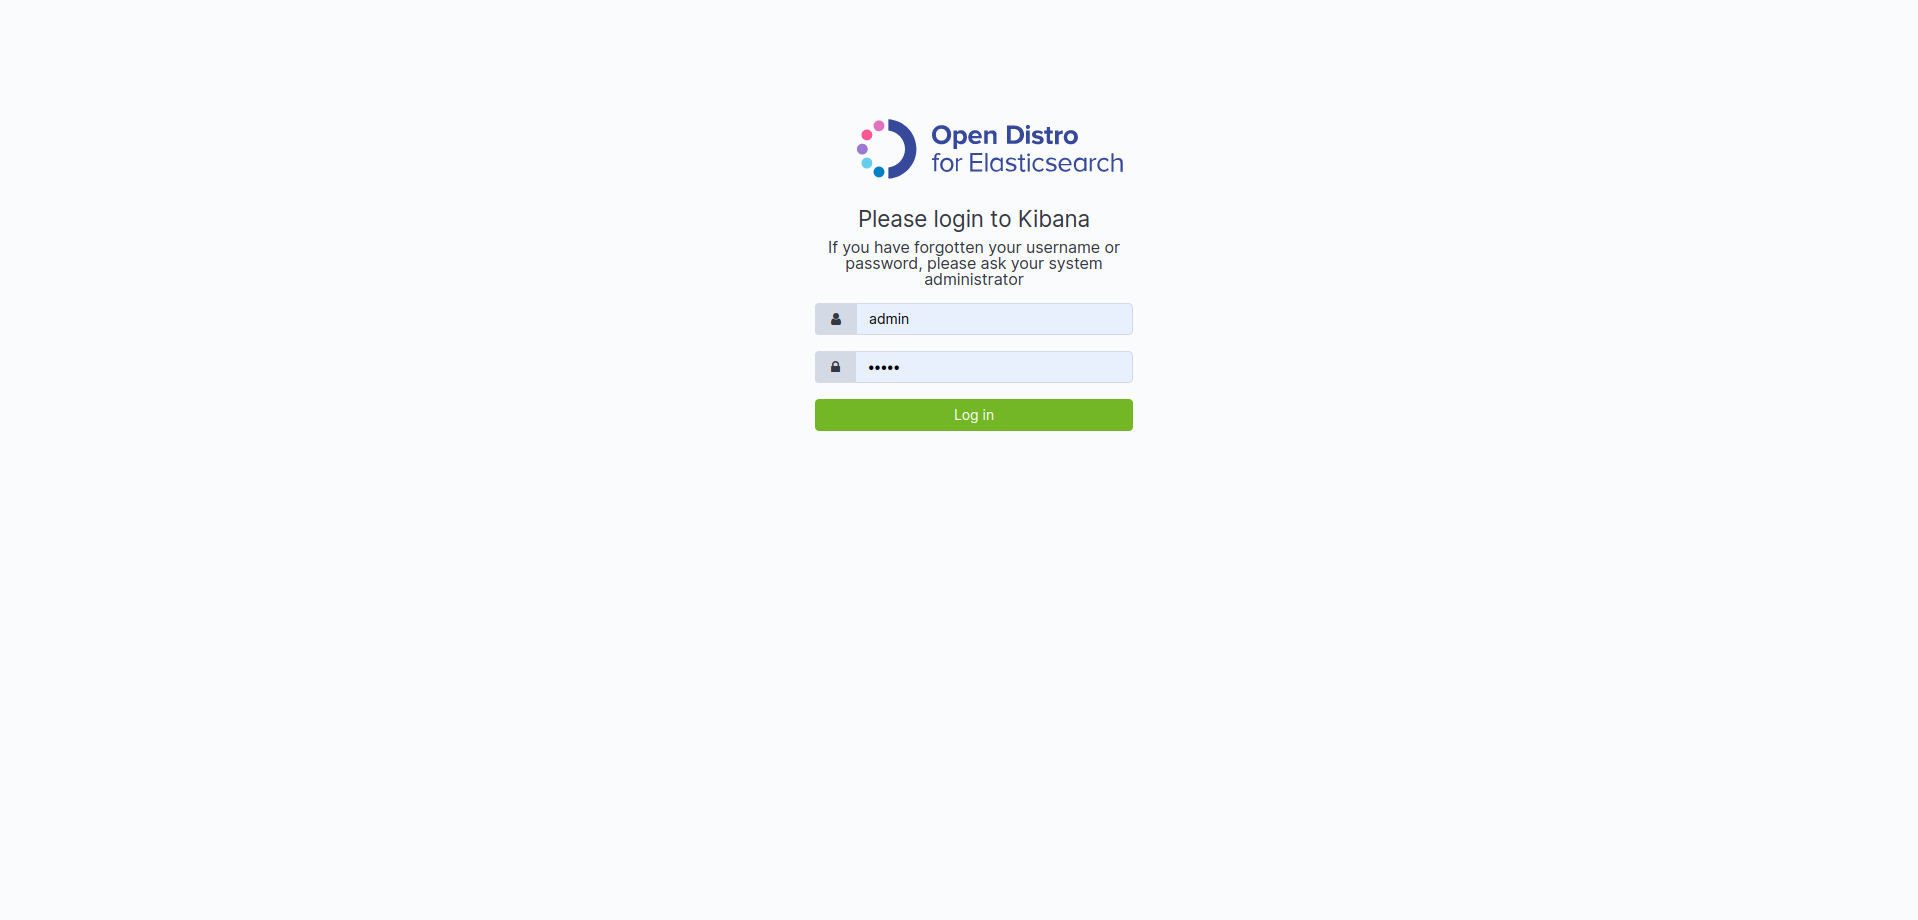
Congratulations ! You have secured ElasticSearch and Kibana with SSL, authentication and access control for your cluster ! It is as simple as that.
Walkthrough
This presentation will go through the Kibana interfaces, but keep in mind that all the configuration steps described below can be performed through configuration files.
First, log in to Kibana with user admin and password admin.
Access Control
When you are connected, click on the Security tab. You should see this:
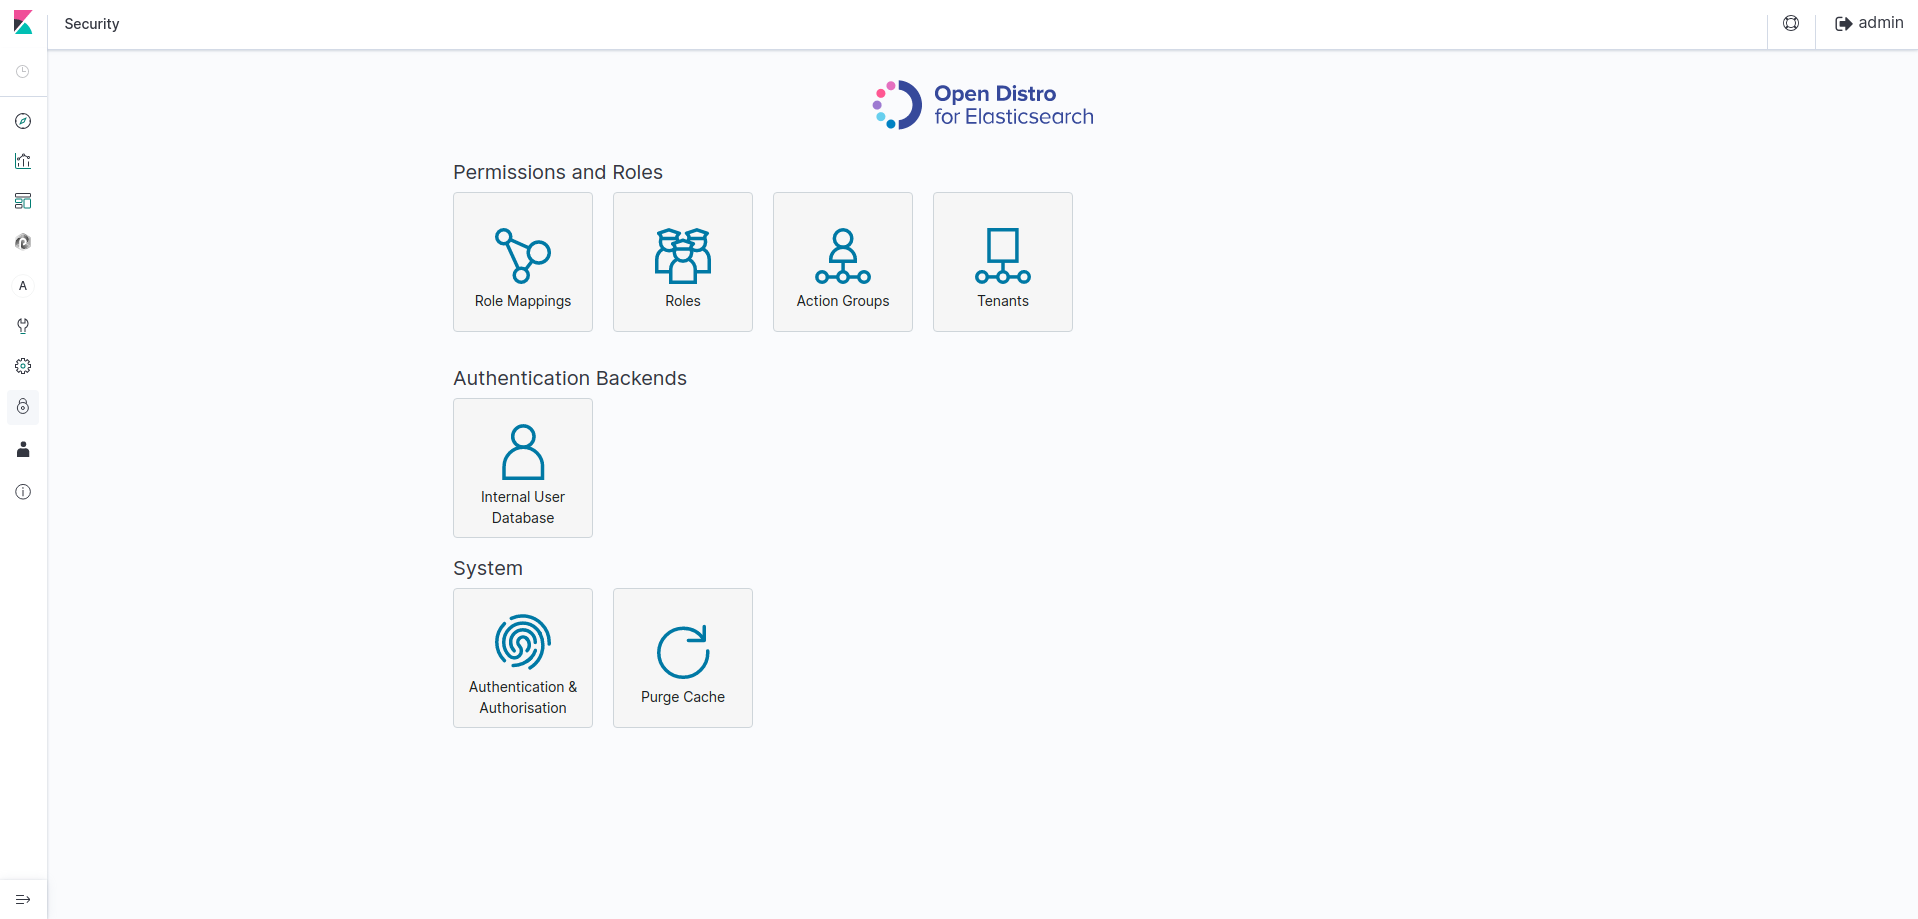
Let us describe this security interface :
| Category | Description |
|---|---|
| Action Groups | Provides the creation of actions (a set of permissions) to grant access to a data type or API |
| Roles | Provides the creation of roles to define a scope for action groups on clusters, indices, documents or fields. It also provides the creation of tenants |
| Users | Provides the creation of user accounts |
| Role Mappings | Provides the mappings between the created roles and the created users |
| Authentication and Authorization | Provides information about the authentication and authorization mechanisms used for your ElasticSearch instance |
The most important thing to understand is role management. Go to Roles, then click on all_access role to edit it.
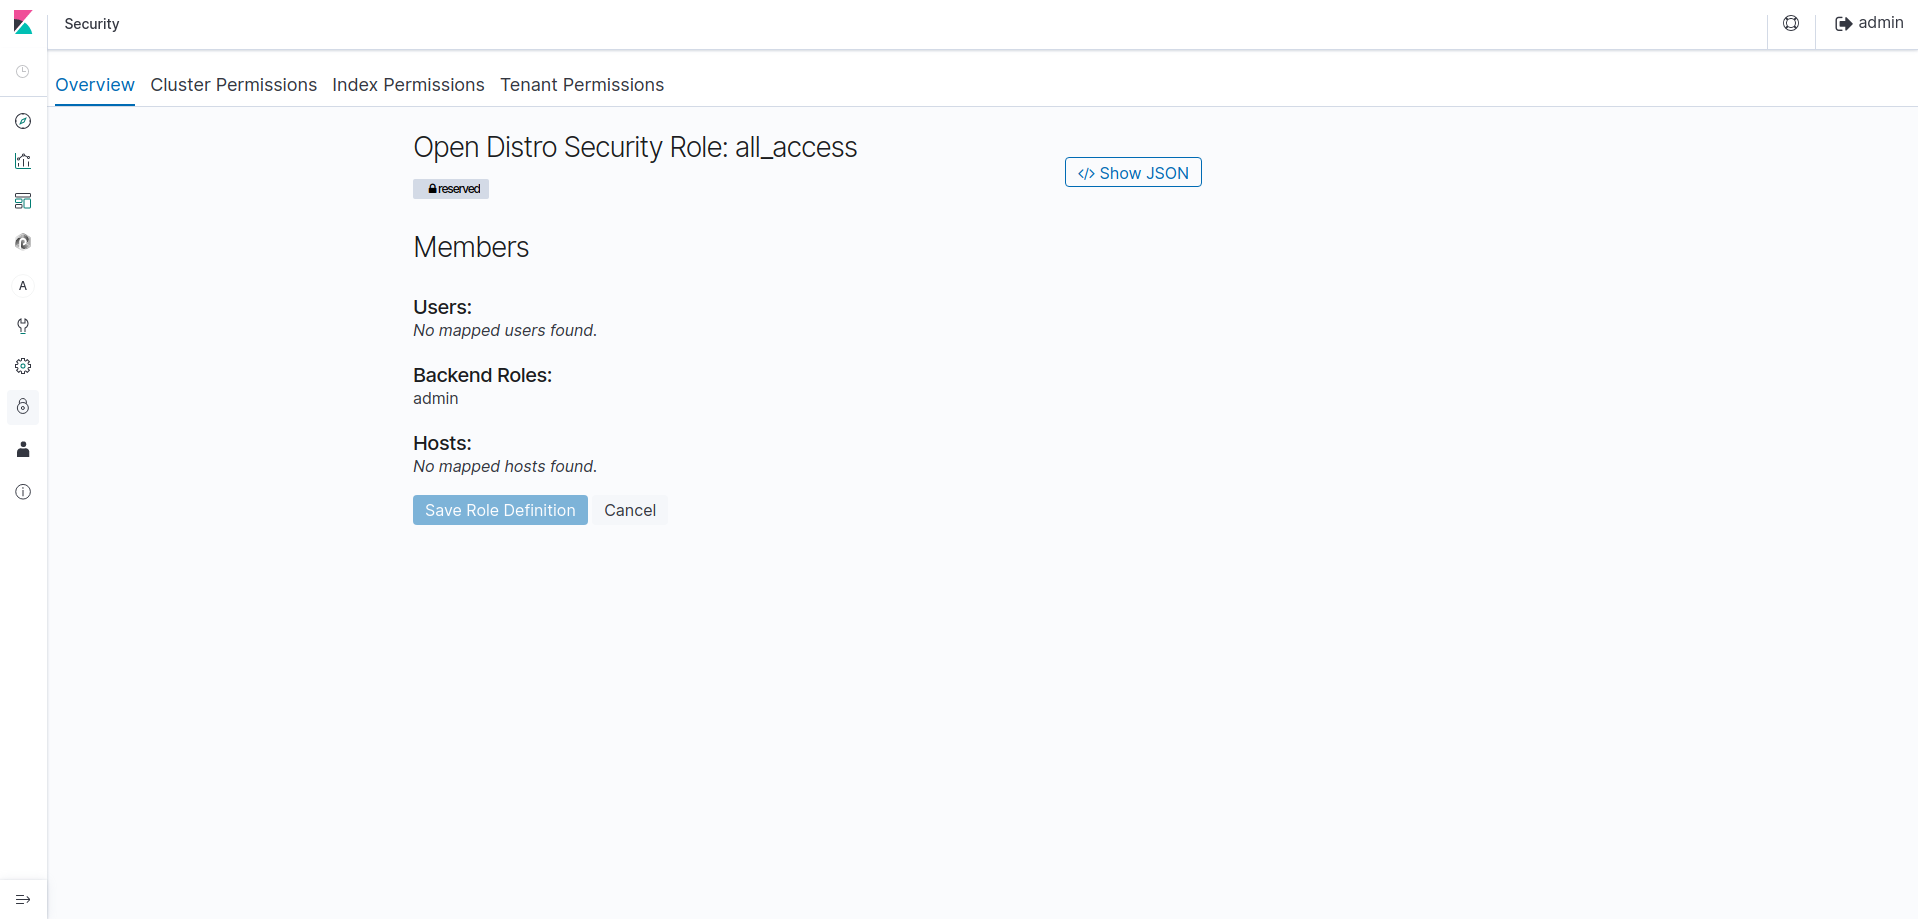
The sections that can be edited are :
| Section | Description |
|---|---|
| Overview | A summary of all users, backend roles and host permissions affected to the roles |
| Cluster Permissions | Provides cluster-wide permissions by assigning action groups to the cluster |
| Index Permissions | Provides index permissions by assigning action groups to indices and document types |
| DLS/FLS | Provides document and field permissions by writing an ElasticSearch query that affect an index. Also provides a way to include, exclude or anonymize fields |
| Tenants | Provides tenant permissions for the current role, based on read/write access |
As you can see, the security plugin is focusing on indices and documents access control. You can now manage actions and
roles, create users and bind them all together with mappings inside the Security tab to grant permissions to your data.
Tenants
Click on the Tenants tab. You should see this:
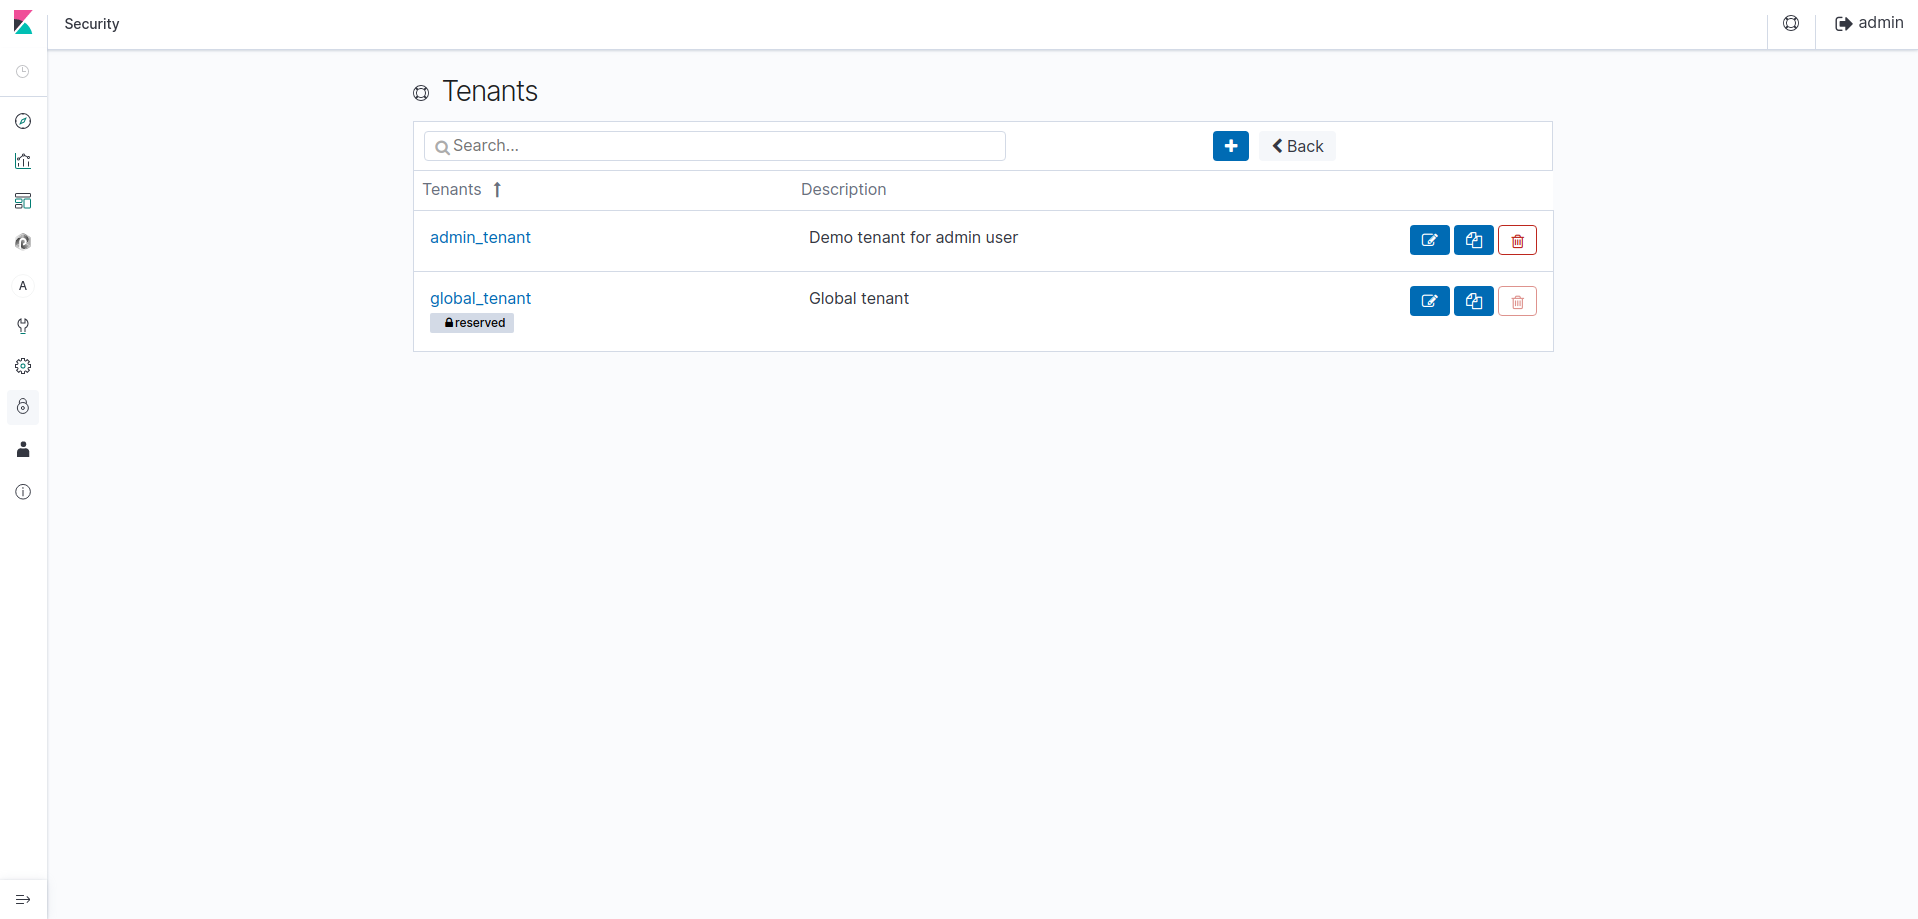
From Opendistro security plugin, this feature allows a user to self-manage the access controls to its own index patterns,
visualizations and dashboards and to protect them from other users. Each tenant can be understood as a workspace
where a user's monitoring creations are stored.
For example, if a visualization is created with the private tenant selected, this visualization will not be viewable
from any other selected tenant or user.
The default tenants are :
| tenant name | Description |
|---|---|
| Global | Accessible from any other tenant or user |
| Private | Accessible from this tenant and user only |
| {custom name} | Attached to a role, this tenant is accessible for any other user who shares the same role |
For example, the tenant admin_tenant can be accessed from any other user who has the all_access role.
Punchlines security configuration
Since SSL and a basic authentication are now needed to connect to Elasticsearch, additional settings must be placed in every component that needs to read or write data in Elasticsearch indices.
Info
In standalone, these configurations are automatically applied ! If you steel need to use your own certificates, use the resolv.hjson for security configurations over these punchlines instead of configuring them one by one.
Additional settings for ElasticSearch nodes in Storm environment in Security section :
* Storm Extraction Input
* Storm Elasticsearch Output
Additional settings for ElasticSearch nodes in Spark environment in Security section :
* Spark Elasticsearch Input
SSL
The encrypted connections concern :
- Elasticsearch
- Kibana
- Metricbeat
- Rest API Gateway
cd $PUNCHPLATOFM_CONF_DIR/resource/ssl/certs/user
curl -v GET https://localhost:9200/_cat/indices \
    --cacert ./punch-ca.pem \
    --cert ./user-super-1-cert.pem \
    --key ./user-super-1-key-pkcs8.pem


< HTTP/1.1 200 OK
< content-type: text/plain; charset=UTF-8
< content-length: 570
<
green open .kibana_1                            8_JmsSMRT_S7XpInvUlmVA 1 0   0 0   230b   230b
green open .opendistro_security                 eYMYebqGRfimgT5ZGwHz3A 1 0   5 0 25.2kb 25.2kb
green open platform-metricbeat-7.10.2-2020.04.27 pyR2dcm6SuKwZN6xvyZZaw 1 0 348 0  712kb  712kb
green open security-auditlog-2020.04.27         jCb8bOPYSQWbcgMDLc_azQ 1 0   2 0 23.9kb 23.9kb
Info
Where are the credentials you may ask, right ? Well, Punchplatform standalone provides a configuration that uses certificates to authenticate services. The punch user certificates can be userd as admin certificates, and other are provcided for different kind of services in $PUNCHPLATFORM_CONF_DIR/resources/ssl/certs
Warning
Some services still work with basic credentials which need to be forwarded to Elasticsearch. It is the case for Kibana for example : the user's credentials are forwarded to Elasticsearch, but the connection is still encrypted with TLS to protect the critical information
At this point, the Punchplatform Rest API Gateway is also working with SSL connection to Elasticsearch.
cd $PUNCHPLATOFM_CONF_DIR/resource/ssl/certs/user
curl -v GET https://localhost:4242/v1/mytenant/es/es_seach/_cat/indices \
    --cacert ./punch-ca.pem \
    --cert ./user-super-1-cert.pem \
    --key ./user-super-1-key-pkcs8.pem

Unauthorized
Why are you rejected ? Well, for Elasticsearch forwarding through the punch Gateway
(endpoint: <tenant>/es/<cluster>), the user must provide its credentials, which are forwarded with its request.
It allows Opendistro Security to verify each client request. The connexion remains encrypted with TLS :
curl https://localhost:4242/v1/mytenant/es/es_seach/_cat/indices \
    -u admin:admin \
    --cacert $PUNCHPLATFORM_CONF_DIR/resources/ssl/certs/punch_user/punch-user-ca.pem

green open .kibana_1                            8_JmsSMRT_S7XpInvUlmVA 1 0   0 0   230b   230b
green open .opendistro_security                 eYMYebqGRfimgT5ZGwHz3A 1 0   5 0 25.2kb 25.2kb
green open platform-metricbeat-7.10.2-2020.04.27 pyR2dcm6SuKwZN6xvyZZaw 1 0 348 0  712kb  712kb
green open security-auditlog-2020.04.27         jCb8bOPYSQWbcgMDLc_azQ 1 0   2 0 23.9kb 23.9kb
Add key files as a new role's user in Opendistro
Considering you already have a client key and a client certificate, you have to edit
$PUNCHPLATFORM_CONF_DIR/../external/elasticsearch-7.10.2/plugins/opendistro_security/securityconfig
with the common
name of your certificate :
my_role:
  reserved: false
  backend_roles:
    - "my_role"
  description: "My specific access role"
  users:
    - "my-cert-CN-value"
Then update your cluster security information with admin certs :
punchplatform-elasticsearch.sh --start
cd $PUNCHPLATFORM_CONF_DIR/../external/elasticsearch-7.10.2/plugins/opendistro_security/tools
chmod +x securityadmin.sh
./securityadmin.sh -cd ../securityconfig/ -icl -nhnv \
    -cacert ../../../config/elasticsearch-admin-ca.pem \
    -cert ../../../config/elasticsearch-admin-cert.pem \
    -key ../../../config/elasticsearch-admin-key.pem
Acces Control demonstration with Open Distro Security
The punch ships with a small demo so that you can play right away with some data, users and roles.
Installation
First, make sure that ElasticSearch and Kibana are running, then execute :
# disable ssl configuration
./install.sh --with-opendistro-security
# install demo
$PUNCHPLATFORM_CONF_DIR/samples/opendistro/install_demo.sh
When it is DONE, go to your running Kibana instance and connect to the admin account with user admin, password admin.
Click on Stack Management > Index Patterns > Create index pattern. You can see two new indices : ppsecurity_q1 and ppsecurity_q2.
Demonstration Use case
Consider a monitoring project named PPSecurity.
The monitoring activity is lasting for several month so monitoring data was split into two quarters : Q1 and Q2.
The data contain connection information about four projects (Project A, B, C and D) in two working zones
(Zone 1 and 2), as follows :
| Zone 1 | Zone 2 |
|---|---|
| Project A and B | Project C and D |
On kibana, through roles, role mappings and user definitions, you can gather the following information :
| role | permissions | role mapping (users) |
|---|---|---|
| head_manager | Grant access to all data of PPSecurity | Sam |
| project_manager | Grant access to all documents in Zone 1 | Rosie |
| engineer | Can only monitor data for index ppsecurity_q1 | Merry |
Thus, Rosie, who is a project manager, can access to any data in all indices that concerns all the projects inside the first zone only.
Practice
As head manager
Logout from admin and connect to Sam account with username sam and password samsam.
You can notice that you have no rights to manage the security tab from this user anymore, since you are not currently logged
as the admin user.
Go to Tenants tab and select Private tenant.
Go to Management tab and define a new index pattern with pp*. Choose fields.event_timestamp as time filter then
click on Create index pattern.
Now, by clicking on Discover tab and by selecting your new index pattern, you can display 4 documents with various
information about zones and projects that are all the data available for the project PPSecurity, since head_manager has
no restrictions on PPSecurity indices.
To push the experience a little further, go to Tenant tab and select another tenant then go back to Discover
tab. Your previous index named pp* is not accessible anymore. You can restore it by selecting the tenant you were in
when you created the index pattern. This is how tenants work.
As engineer
Let us now check Merry's permissions by connecting to the admin user and go to Security > Roles > engineer > Index Permissions
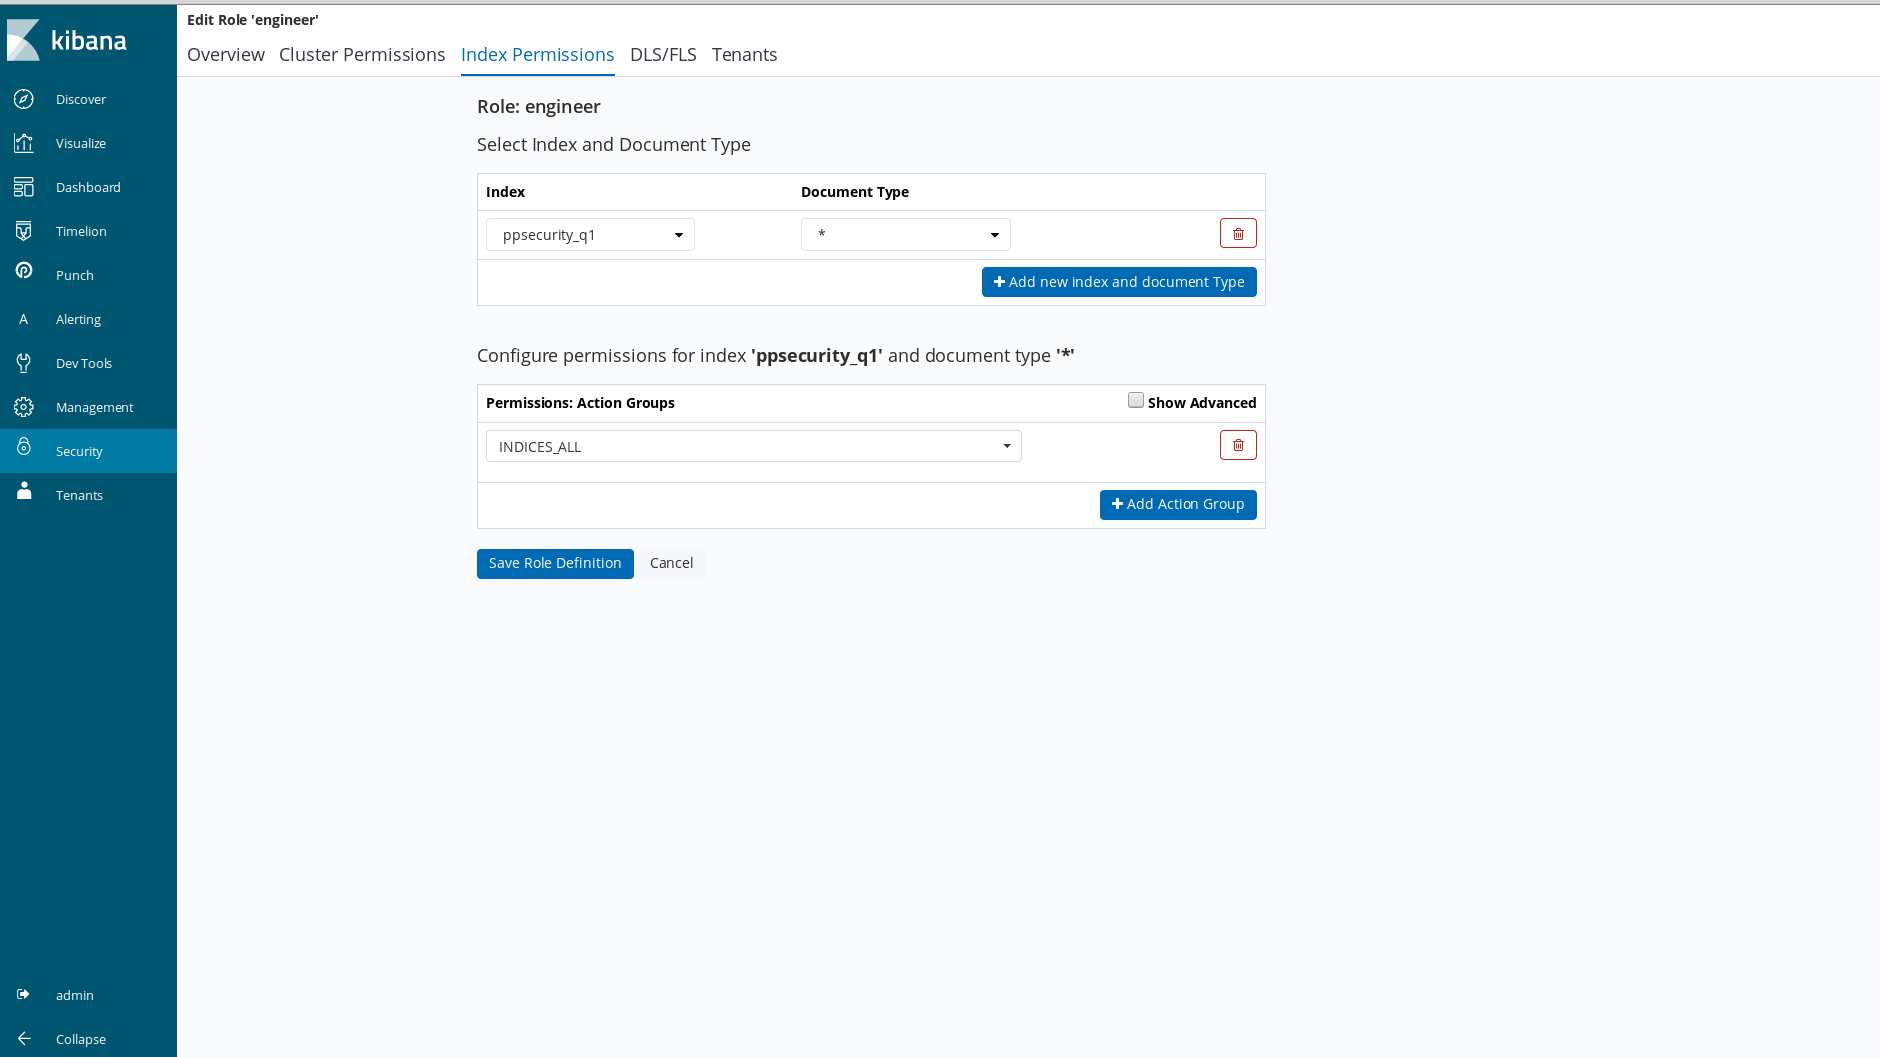
Because of indices_all action group permission assigned to index ppsecurity_q1, Merry will be able to monitor all data inside this index but he also won't be able to access to ppsecurity_q2's data at all.
Now log in merry account with password merry.
Go to Stack Management tab then click on Index Patterns. As explained above, the only index visible for Merry is the one
we just precised in security settings for his role. You can now create an index pattern by defining ppsecurity_q1 then
any visualizations or dashboards from its data, but Merry will never access to ppsecurity_q2 index.
Warning
Be careful that your index pattern does include only authorized indexes. For instance, if you create the index pattern _pp_, it will include the index ppsecurity_q2*, which is forbidden. Therefore, you will get an error message and will not be able to query this index pattern in Discover.
Feel free to change the index pattern for permissions or even action groups to test all the possibilities of Index Permissions
security settings.
As project manager
Let us check Rosie's permissions by connecting to the admin user and go to Security > Roles > project_manager > Index Permissions > Document Level Security Query. Check the ElasticSearch
query written for index pattern pp* :
{
  "bool": {
    "must": {
      "match": {
        "fields.cloud.zone_type": "Zone1"
      }
    }
  }
}
Because of this query, Rosie can access to any document containing "Zone1" as value for the field "fields.cloud.zone_type" inside any index beginning with "pp".
Now log in rosie account with password rosie.
Go to Management tab and create a new index pattern with pp*, then display documents in Discover tab. As explained
above, the only documents visible for Rosie are those with the value Zone1 for zone_type field, without
taking into account the project names.
Another possibility is to change this query to grant to Rosie the access to all documents containing ProjectA or ProjectC as value of the field fields.user.project :
{
  "bool": {
    "must": {
      "bool": {
        "should": [
          {
            "match": {
              "fields.user.project": "ProjectA"
            }
          },
          {
            "match": {
              "fields.user.project": "ProjectC"
            }
          }
        ]
      }
    }
  }
}
Rosie can now access to all document matching this query. The permissions are immediately updated on the Rosie's account.
Feel free to change the index pattern or even the entire query to test all the possibilities of DLS/FLS security settings.